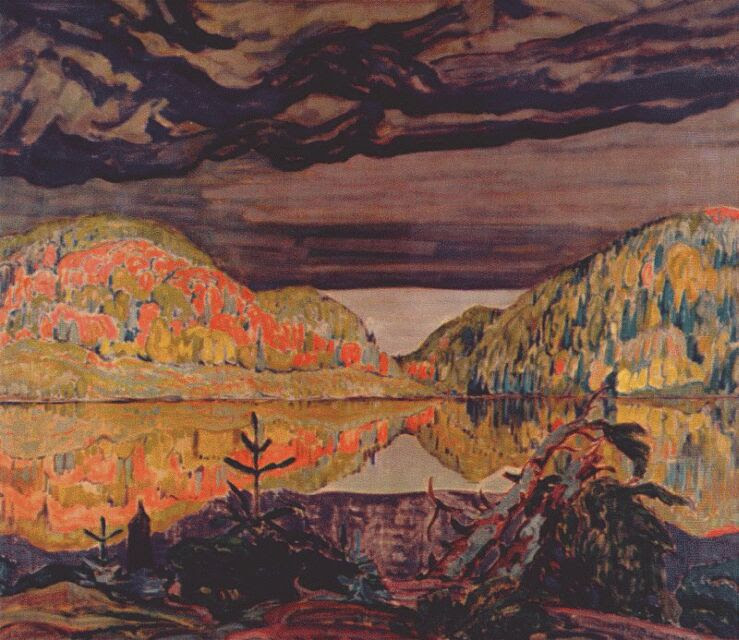
To prepare for this blog hop, I found a lot of images online of artwork that appealed to me. Looking at all of them in a group, I realized that it was the sky in all of these that really caught my attention.
It's pretty obvious when they're all together, isn't it?
So instead of cutting up lots of bits of fabric, I thought I'd use thickened dyes to try to create my own pictures. Mixing Procion MX dye powder with sodium alginate, a thickening agent made from seaweed, allows you to "paint" with dyes. Most of the time I use a credit card or other hard edge to scrape on the dyes.
Here is my work table, it can be quite a messy process.
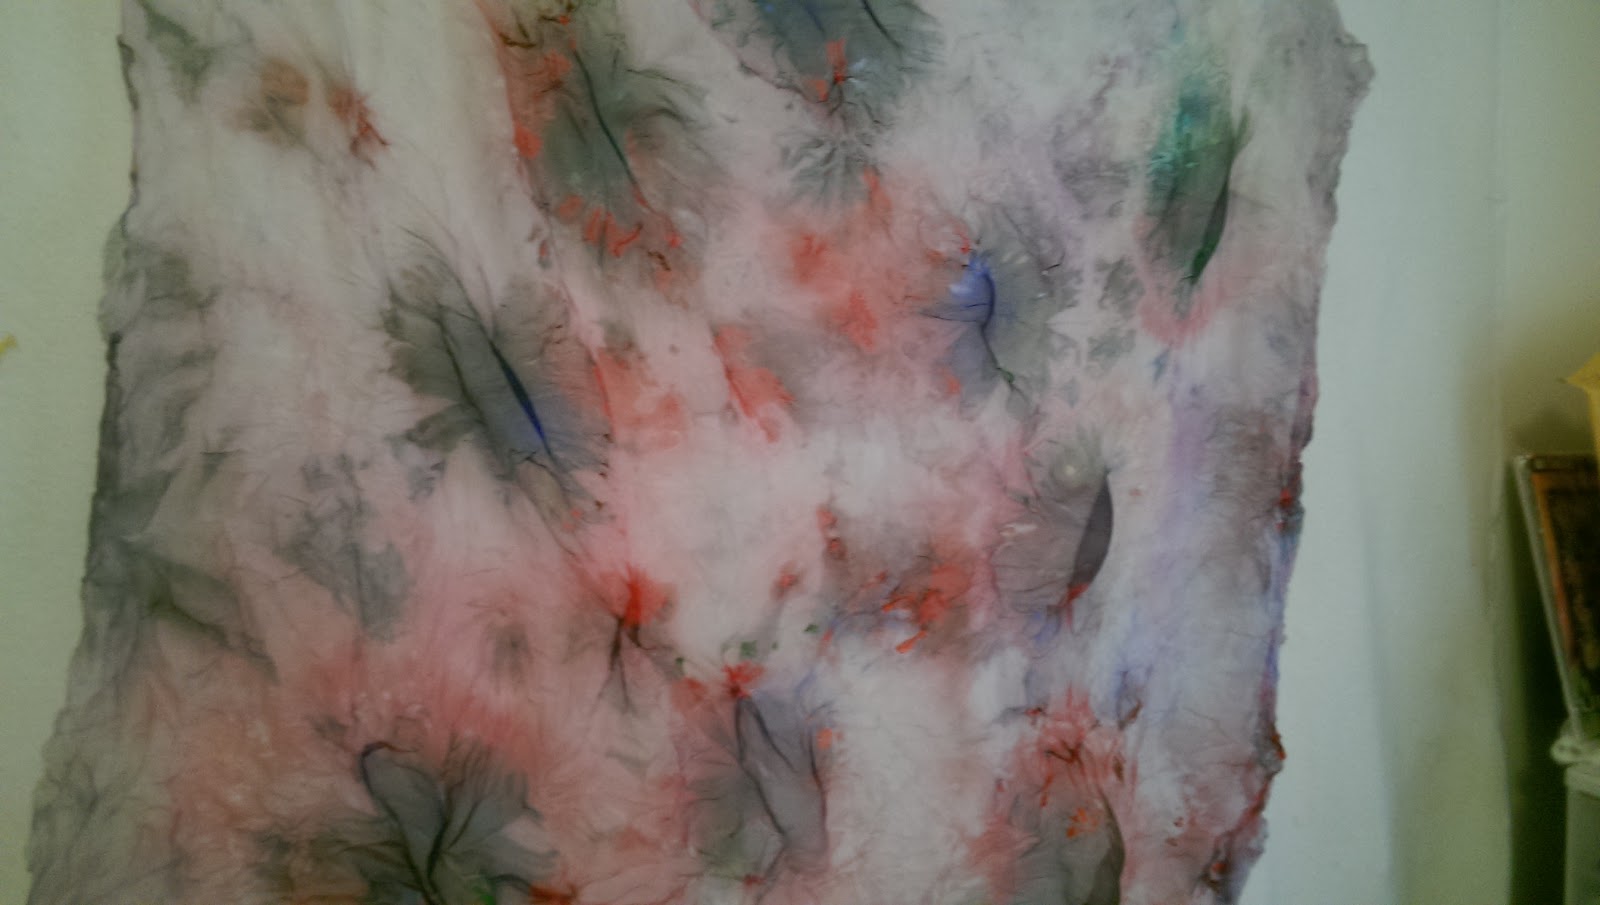
I scraped some dye across a piece of fabric that had already been soaked in soda ash to activate the dyes.
 |
| My first attempt, still unquilted |
I used Stormy Grey and Bronze dye on this piece. The dye kind of stays where you want it but blends a bit before it dries. I left it to dry overnight, then washed in the washing machine.
After ironing it, and making a quilt sandwich, the dilemma was "how do I quilt this"? It was harder than I thought it would be to convey the look of a sky, either with fluffy clouds or with stacked up rows of storm clouds.
I made a couple other pieces to practice on.
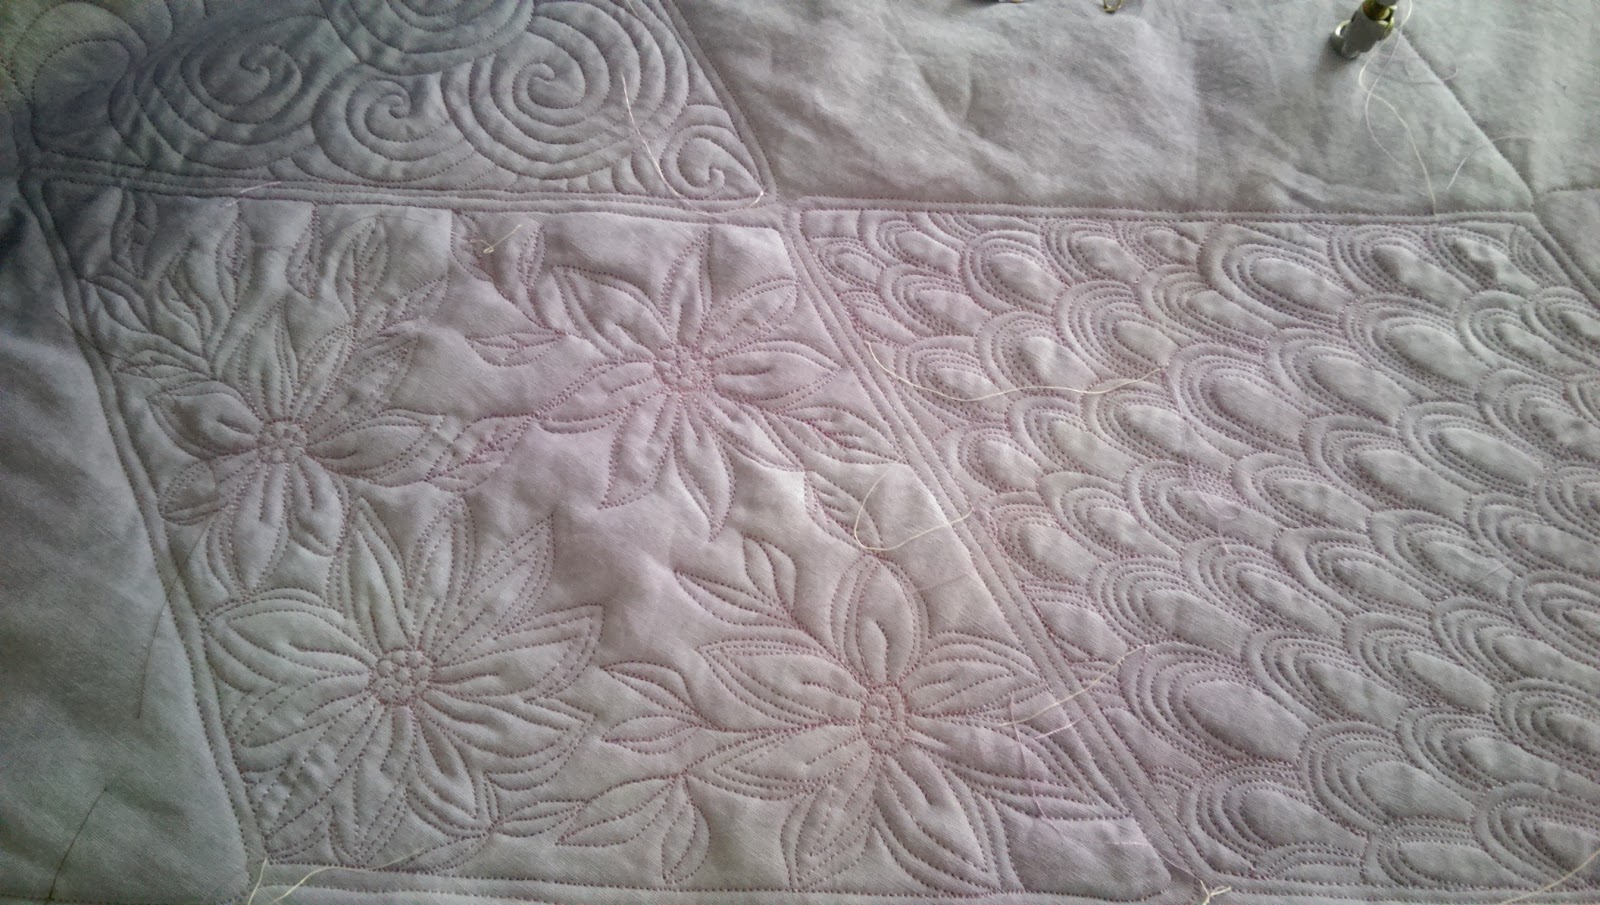
First, I quilted some swirls in the sky because I really like quilting swirls. But it didn't work the way I thought it would. (I didn't take a picture of the piece before or during quilting, forgot to).
 |
| Practice Piece |
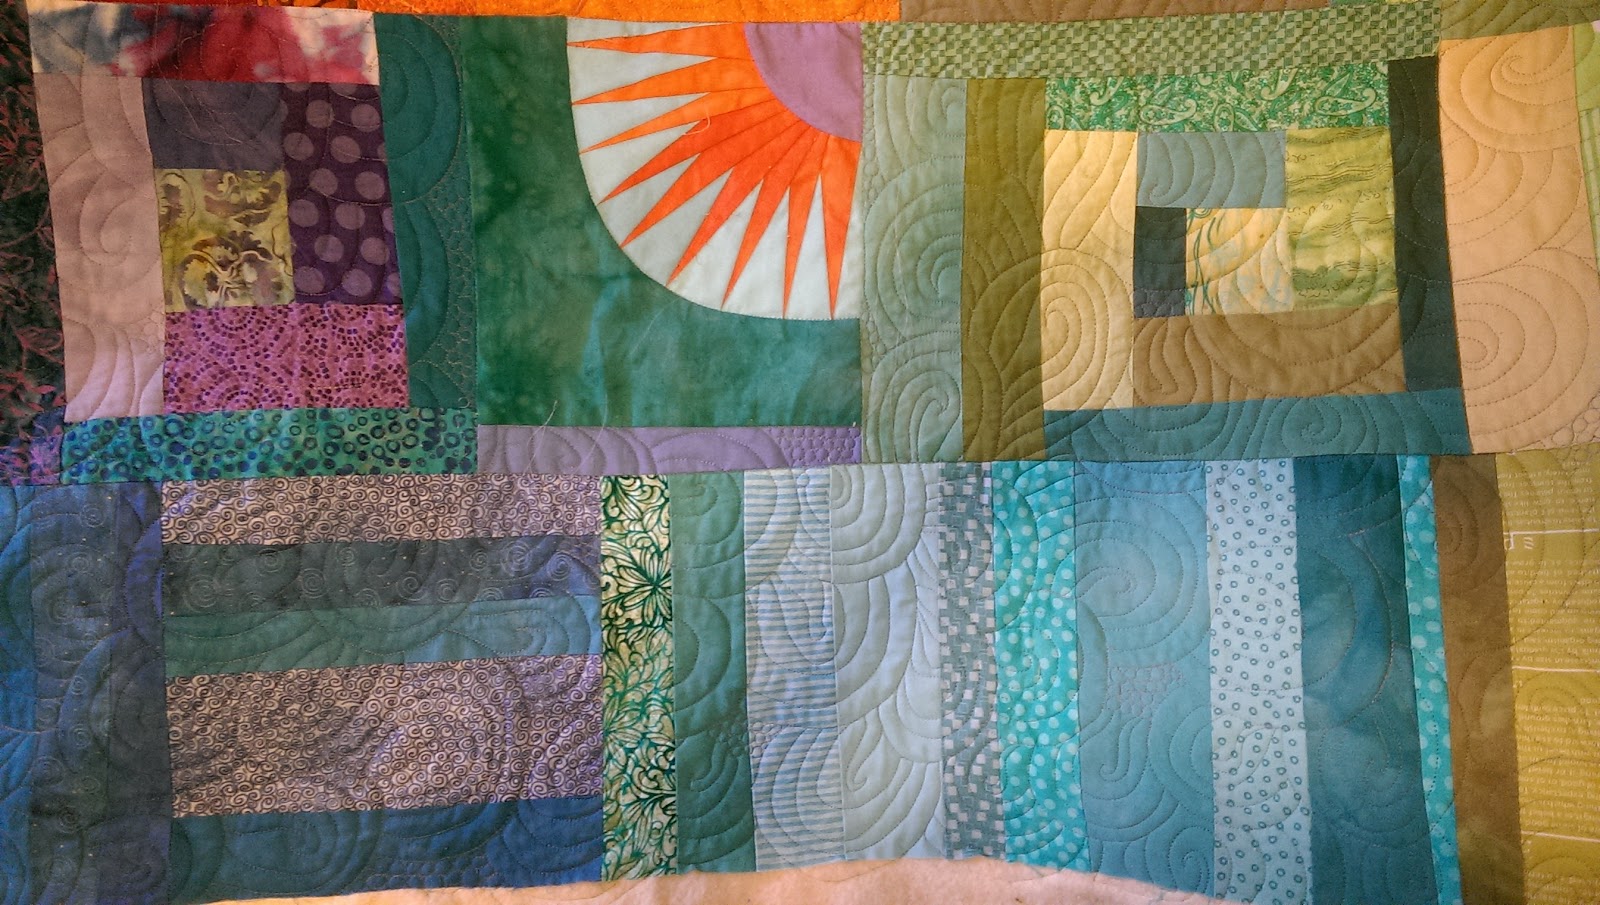
I ended up screening some circles on it and I'm going to use this piece to make a purse....
So, back to the drawing board--I tried quilting again on my next thickened dye piece, this time using lines and a contrasting thread that showed up better. I'm happier with this one! And I do think that the sky did turn out nice, which was my original intention.
I had this other picture, by artist Filomena Booth, that I thought I'd try to work with next.
 |
| Apricot Morn |
I scraped on an assortment of dyes in the general color scheme used for Apricot Morn, but it seemed kind of boring. I had a screen that I had put some lines on using thickened dye in a black, then let it dry overnight that I thought I'd use. (This is called deconstructed screen printing or breakdown printing if you want to google to find out more).
I mixed some red dye into my sodium alginate mixture, then squeegeed it across the screen all over my piece, let it dry, then washed it. I ended up just quilting it with straight lines.
This one attempt led to so many different things for me, is anyone else out there like that? I didn't like my original idea so kept exploring until I ended up with something I liked.
Guess that's all that matters.
Check out the rest of the bloggers today:
Artists on Wednesday: